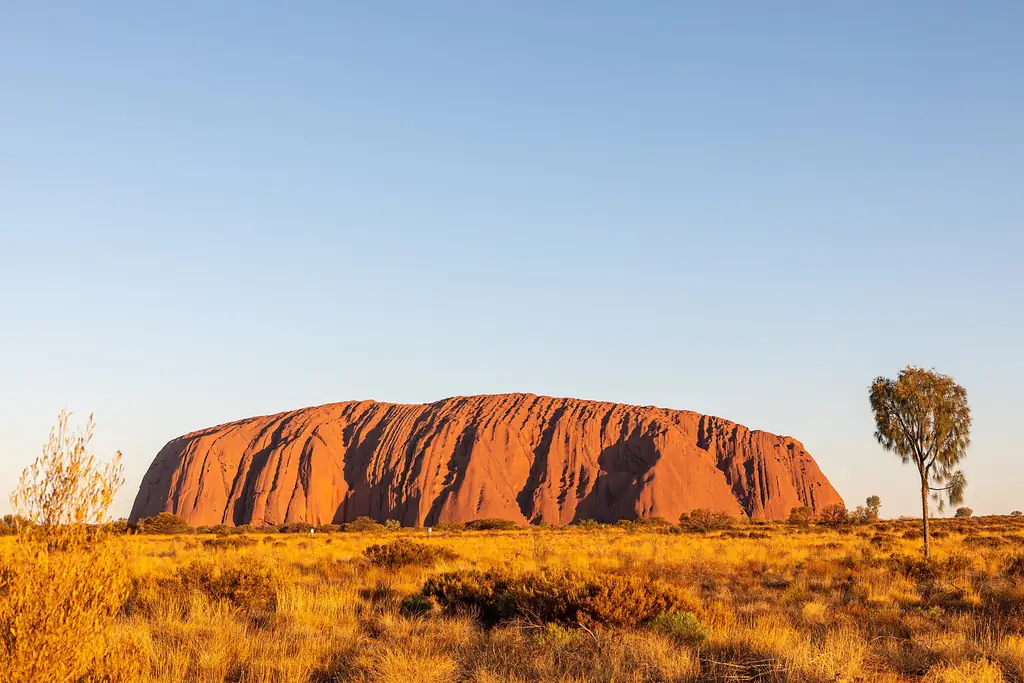
Every photograph on ulurunationalpark.com shows the real place it illustrates. Images are used under the open licences listed below; we have resized and compressed them for fast loading but not otherwise altered them. Thank you to every photographer who shares their work.
| Image | Subject | Photographer | Licence | Source |
|---|---|---|---|---|
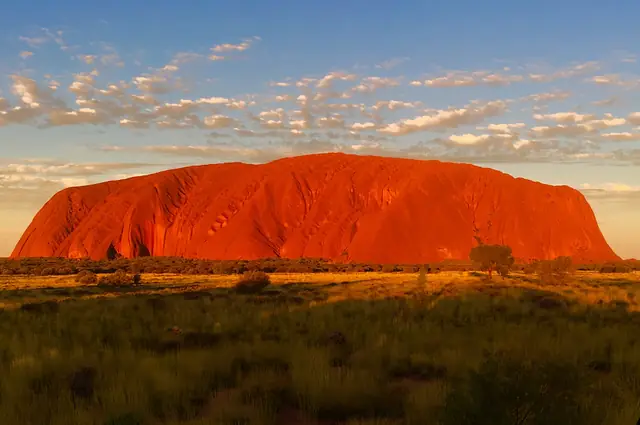 |
Uluru glowing deep orange at sunset in Uluru-Kata Tjuta National Park | Brett Stanley | CC BY-SA 4.0 | Source |
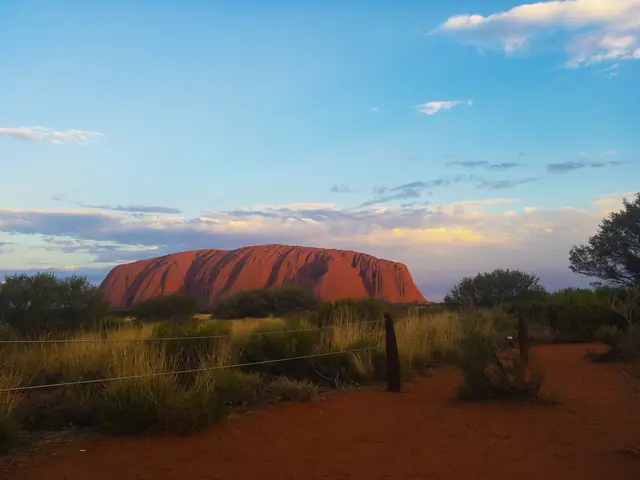 |
Uluru at sunset with desert vegetation in the foreground | Riley Boughton | CC BY-SA 4.0 | Source |
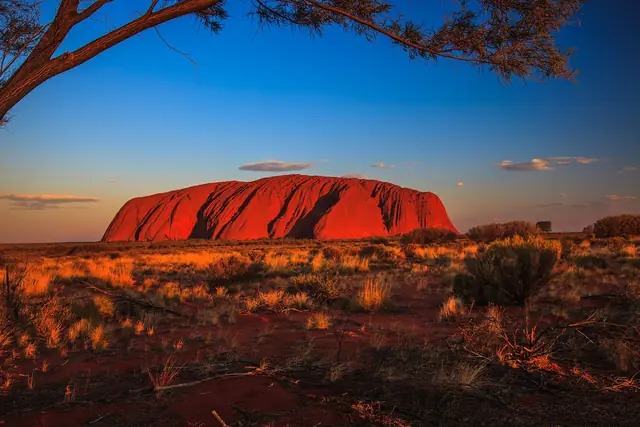 |
The red monolith of Uluru lit by late afternoon sun | Murray Foubister | CC BY-SA 2.0 | Source |
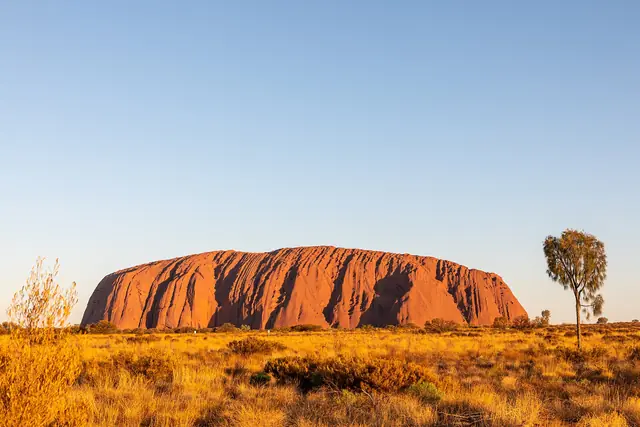 |
Uluru rising above the desert plain in Uluru-Kata Tjuta National Park | Dietmar Rabich | CC BY-SA 4.0 | Source |
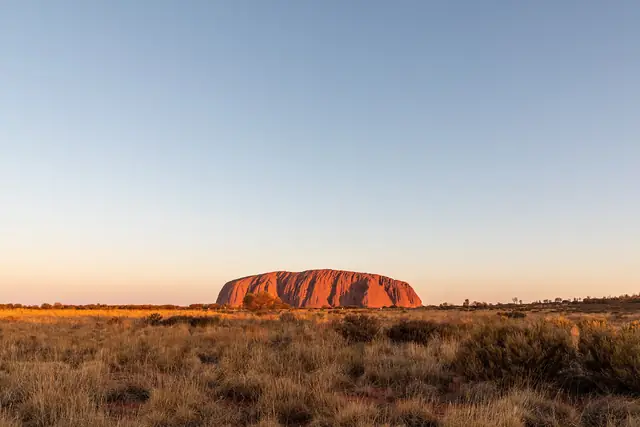 |
Wide view of Uluru across spinifex and desert oaks | Dietmar Rabich | CC BY-SA 4.0 | Source |
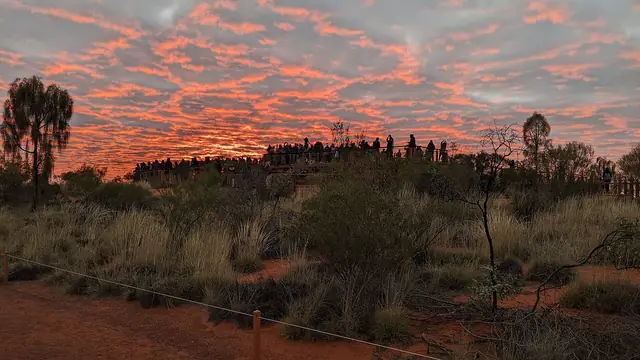 |
Visitors at the Uluru sunrise viewing area in July | CactusPolecat | CC BY-SA 4.0 | Source |
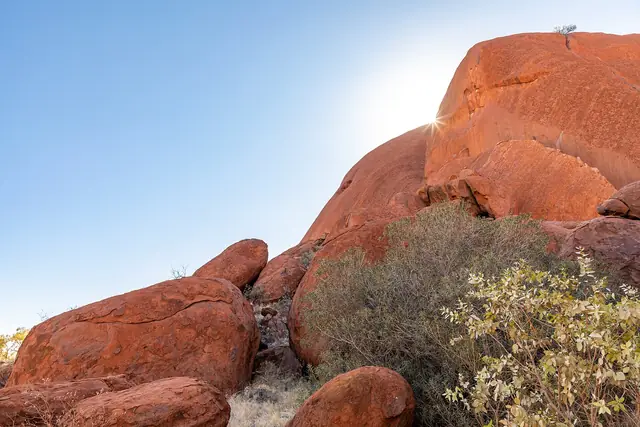 |
The Kuniya Walk path near Mutitjulu on the southern side of Uluru | Dietmar Rabich | CC BY-SA 4.0 | Source |
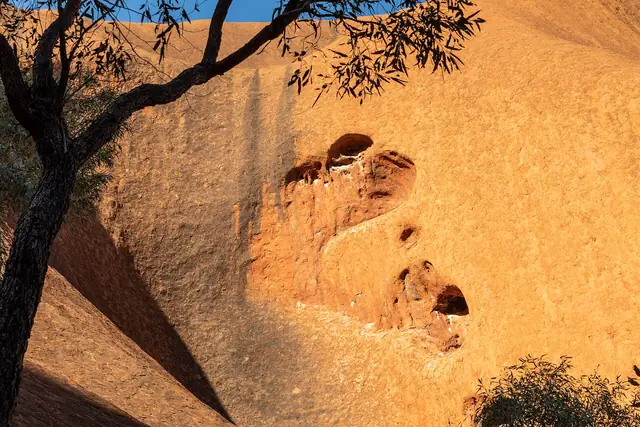 |
Weathered caves and curved rock walls along the Kuniya Walk at Uluru | Dietmar Rabich | CC BY-SA 4.0 | Source |
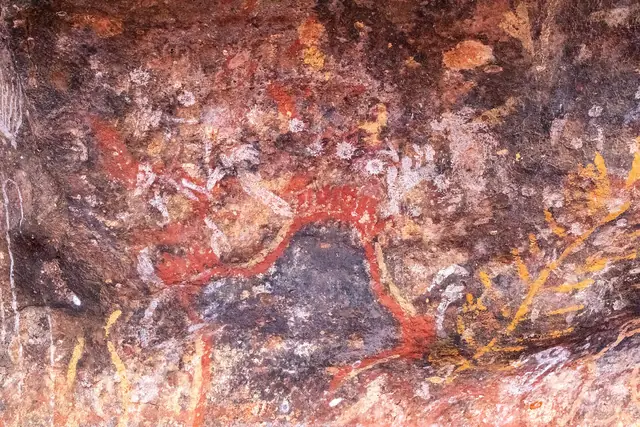 |
Rock painting in a shelter along the Kuniya Walk at Uluru | Dietmar Rabich | CC BY-SA 4.0 | Source |
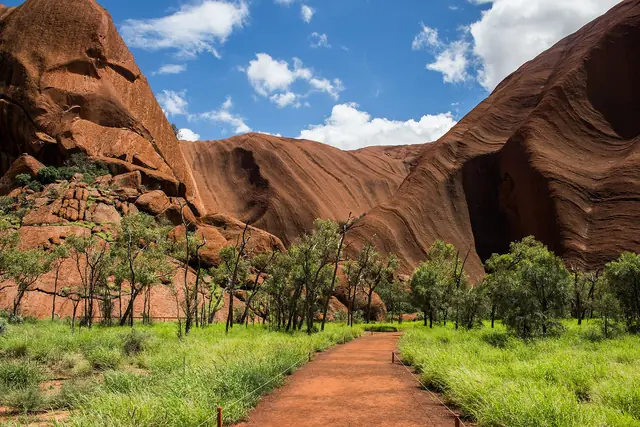 |
The path towards Mutitjulu Waterhole beneath the walls of Uluru | Coen Hird | CC BY-SA 4.0 | Source |
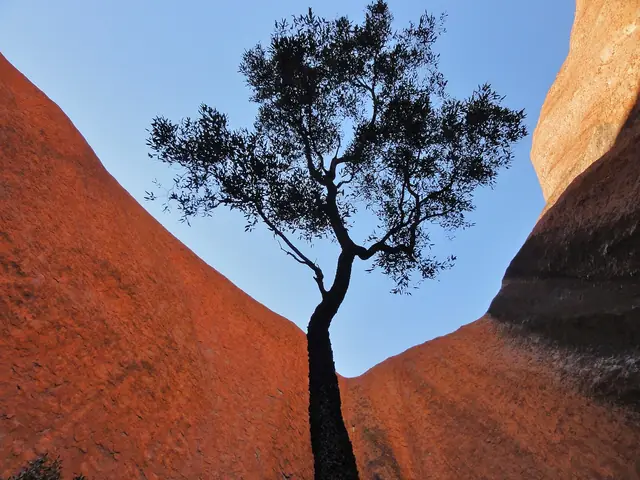 |
Kantju Gorge on the northern side of Uluru | Annette Teng | CC BY 3.0 | Source |
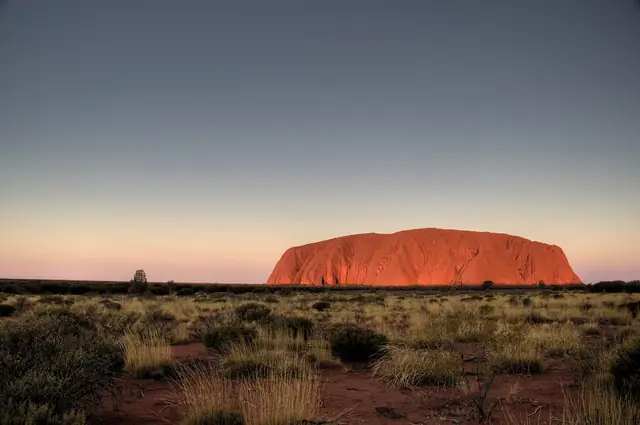 |
Uluru seen across the desert plain at dusk | nosha | CC BY-SA 2.0 | Source |
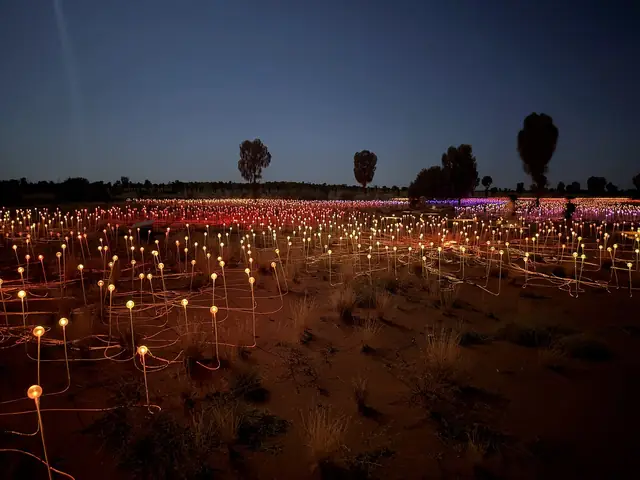 |
Thousands of glowing stems of the Field of Light installation at dusk near Uluru | DaHuzyBru | CC BY-SA 4.0 | Source |
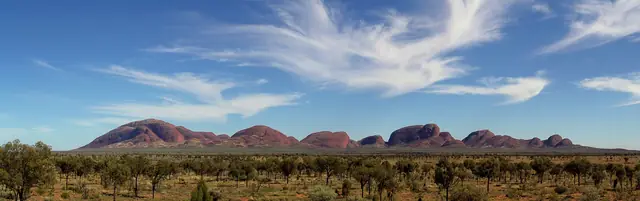 |
Panorama of the domes of Kata Tjuta (the Olgas) | Christian Mehlführer, User:Chmehl | CC BY 2.5 | Source |
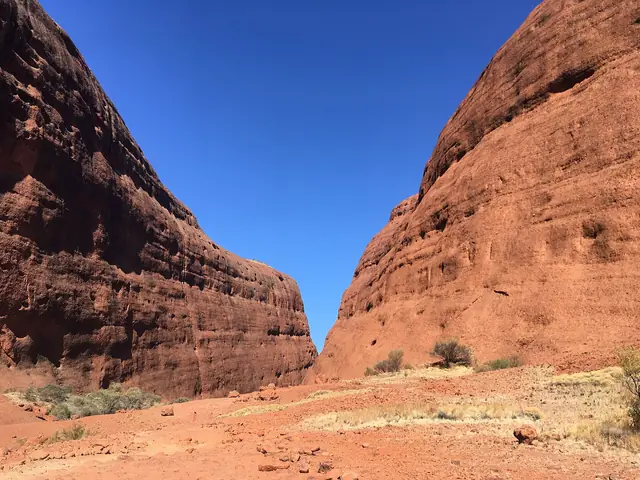 |
The walking track into Walpa Gorge between the domes of Kata Tjuta | Christophe95 | CC BY-SA 4.0 | Source |
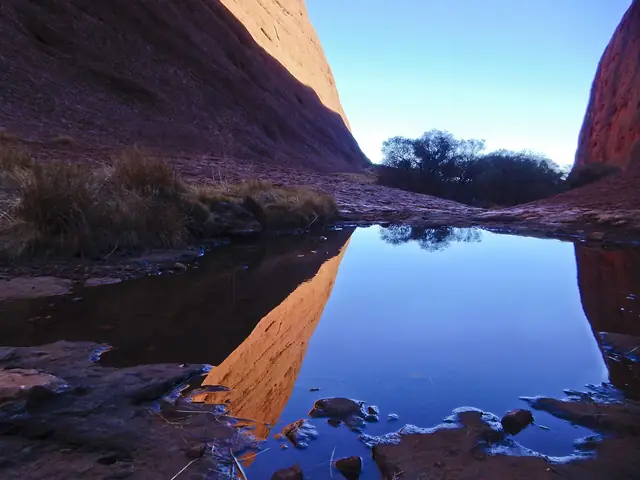 |
Small pools reflecting the red walls of Walpa Gorge, Kata Tjuta | Weldon.r.thompson | CC BY-SA 4.0 | Source |
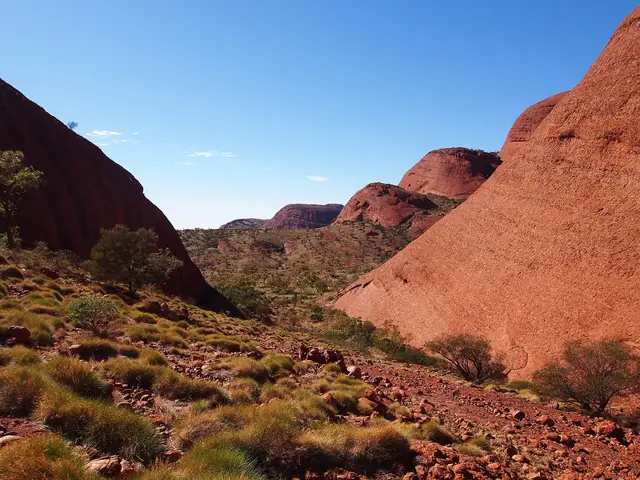 |
View from Karu Lookout on the Valley of the Winds walk at Kata Tjuta | rheins | CC BY 3.0 | Source |
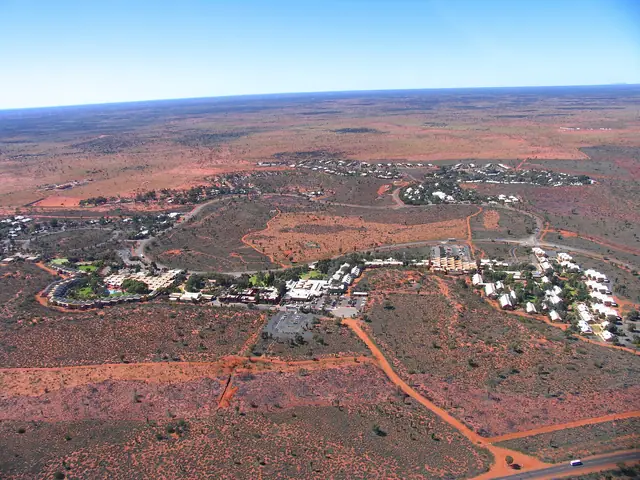 |
Aerial view of Yulara, the resort town near Uluru | Menphrad at English Wikipedia | Public domain | Source |
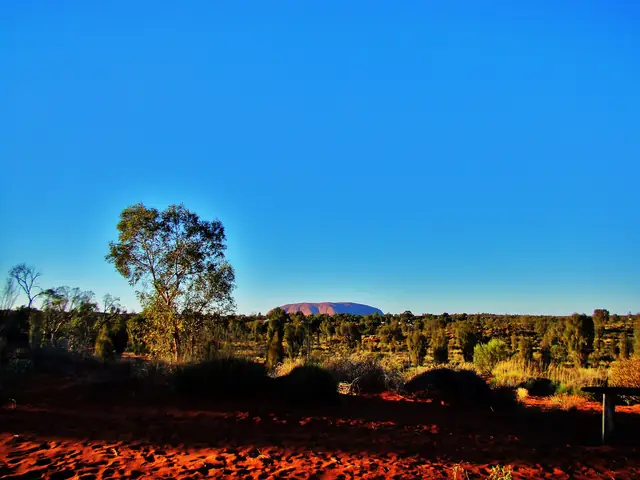 |
View of Uluru from the Naninga Lookout in Yulara | lulugal0870 | CC BY-SA 2.0 | Source |
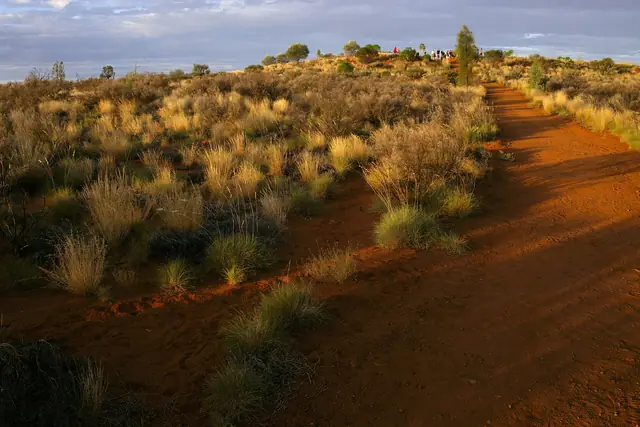 |
Path up to Imalung Lookout in the centre of Yulara | Querent | CC BY 4.0 | Source |
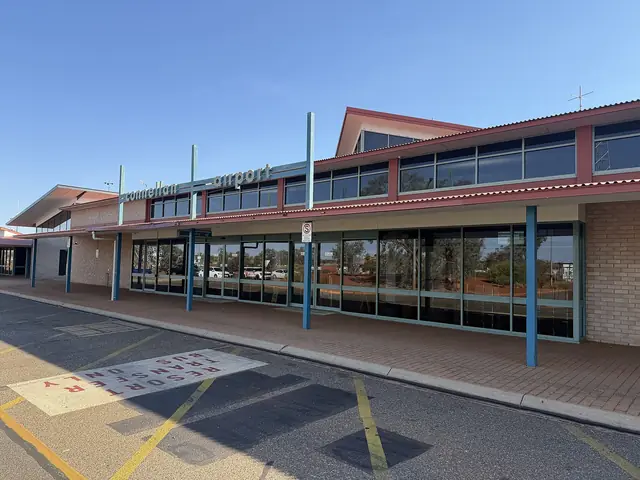 |
Ayers Rock Airport (Connellan Airport) near Yulara | DaHuzyBru | CC BY-SA 4.0 | Source |
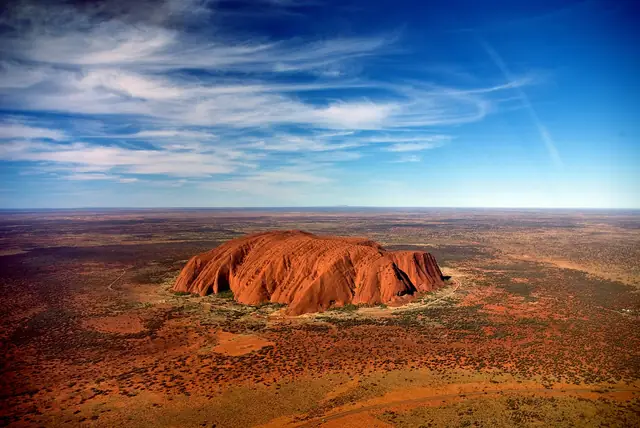 |
Uluru from a helicopter with Mount Conner on the horizon | Corey Leopold | CC BY 2.0 | Source |
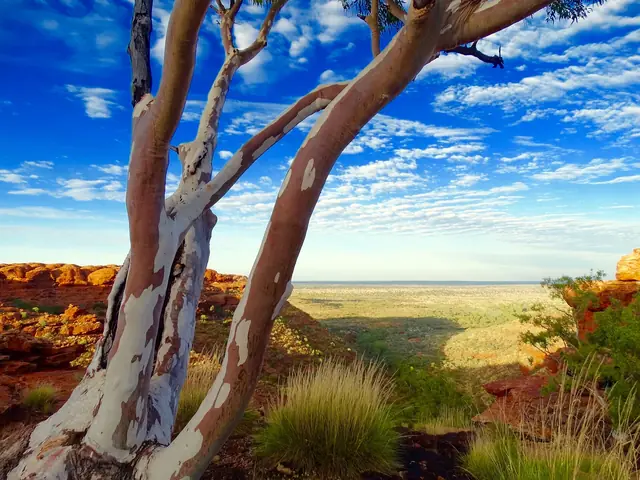 |
Sandstone walls of Kings Canyon in Watarrka National Park | Gypsy888 | CC BY-SA 4.0 | Source |
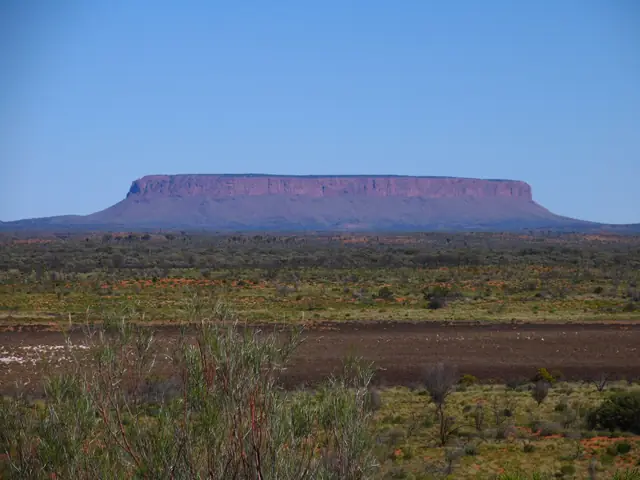 |
Mount Conner, the flat-topped mesa seen from the Lasseter Highway | Menphrad at German Wikipedia | CC BY-SA 3.0 | Source |
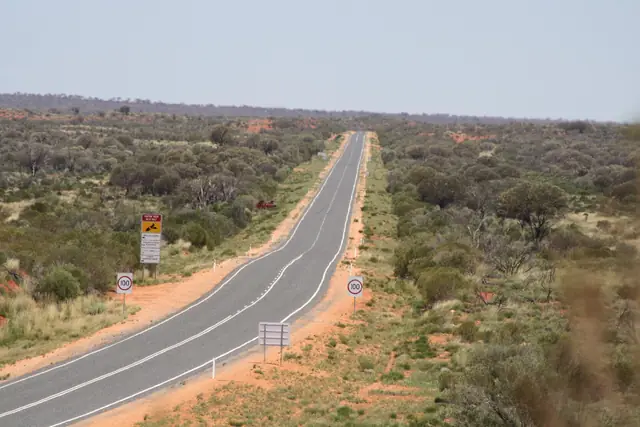 |
The Lasseter Highway near Mount Conner lookout on the road to Uluru | Pulv | CC BY-SA 3.0 | Source |
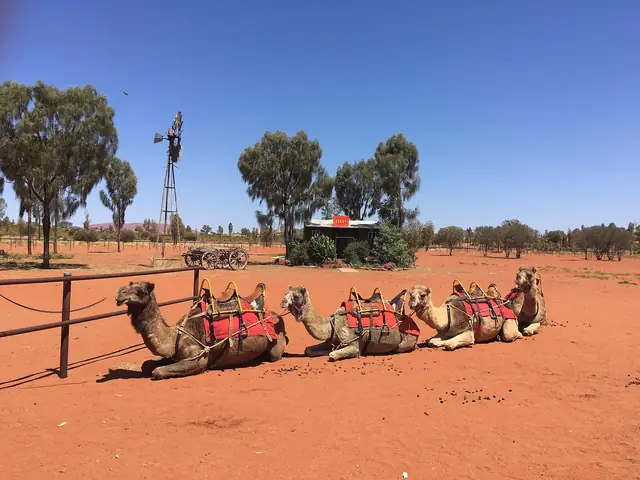 |
Camels at the Uluru camel farm near Yulara | Christophe95 | CC BY-SA 4.0 | Source |
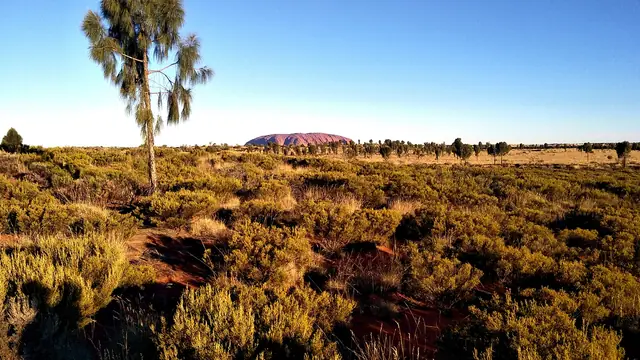 |
View over Uluru-Kata Tjuta National Park from the camel tour area | Ghostieeh | CC BY-SA 4.0 | Source |
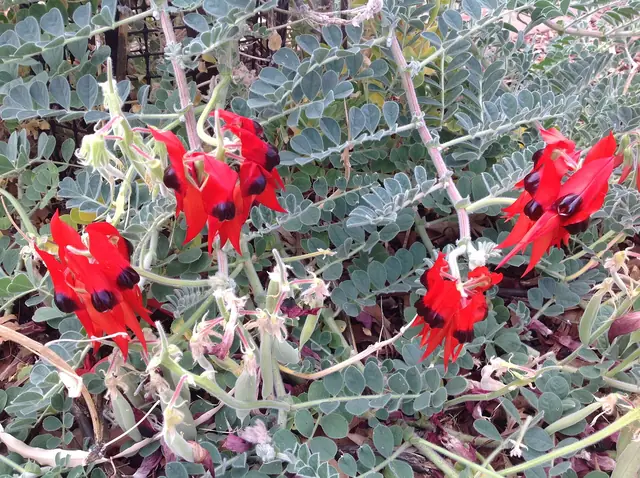 |
Sturt's desert pea flowering in Yulara | Kgbo | CC BY-SA 4.0 | Source |
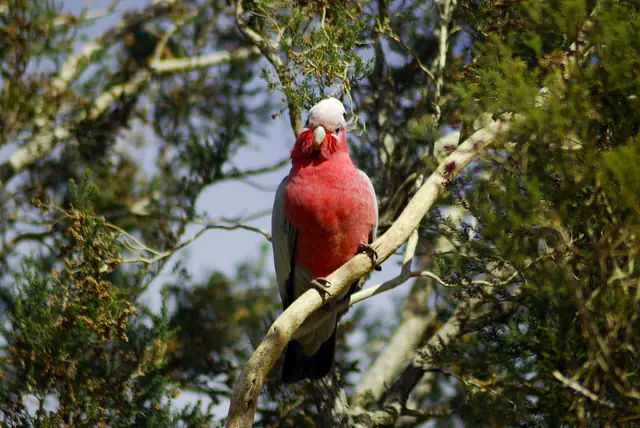 |
A galah perched in Yulara | Richard.Fisher | CC BY 2.0 | Source |
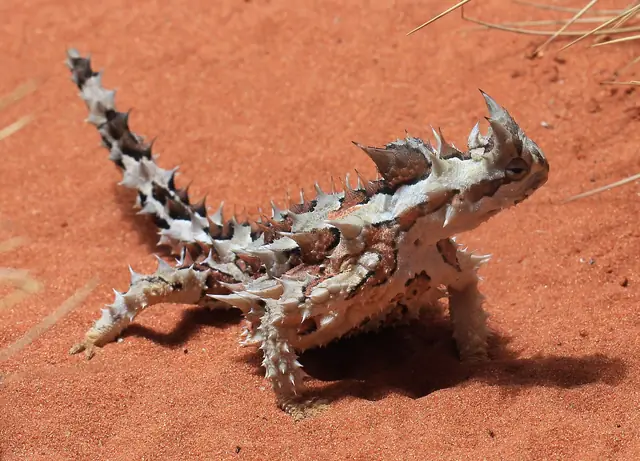 |
A thorny devil lizard, a Central Australian desert reptile | Stu's Images | CC BY-SA 4.0 | Source |
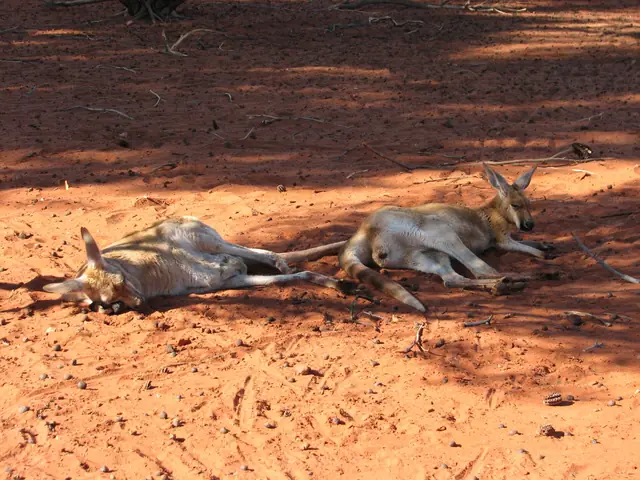 |
Red kangaroos resting in the Red Centre | vaka0627 | CC BY 2.0 | Source |
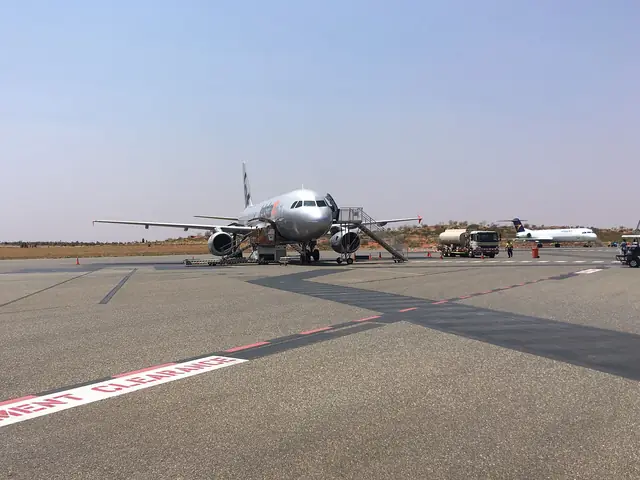 |
Aircraft on the apron at Ayers Rock Airport | Christophe95 | CC BY-SA 4.0 | Source |
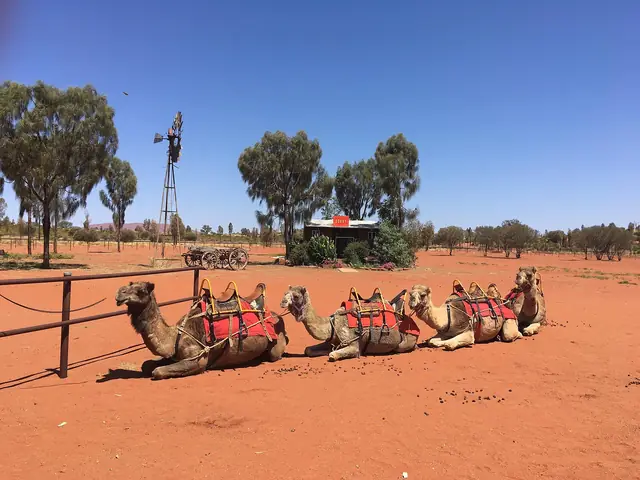 |
Camels at the Uluru camel farm near Yulara | Christophe95 | CC BY-SA 4.0 | Source |
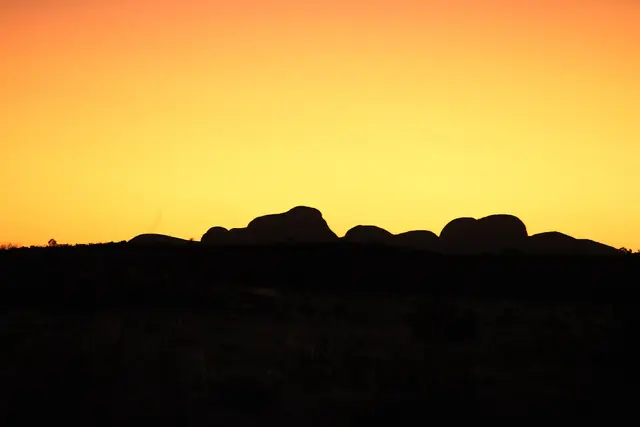 |
Kata Tjuta domes glowing at sunset | Chatura Rathnayake | CC BY-SA 4.0 | Source |
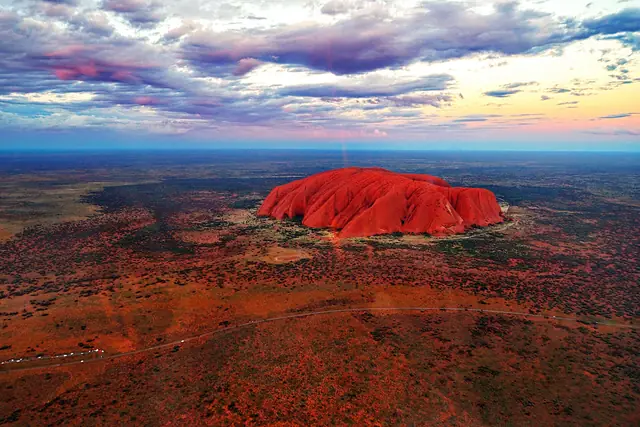 |
Aerial view of Uluru at sunset showing its scale | Dimageau | CC BY-SA 4.0 | Source |
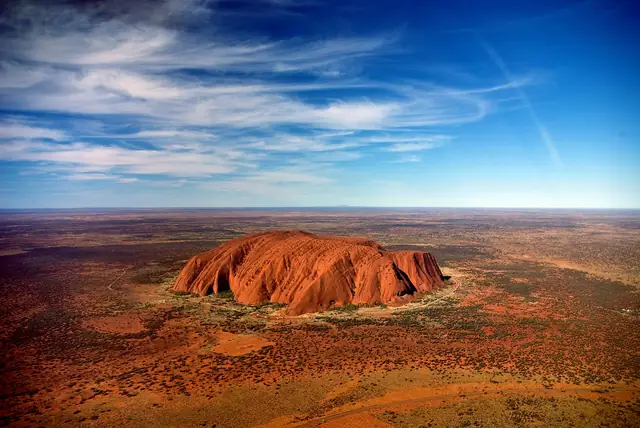 |
Uluru from a helicopter, with Mount Conner in the distance | Corey Leopold | CC BY 2.0 | Source |
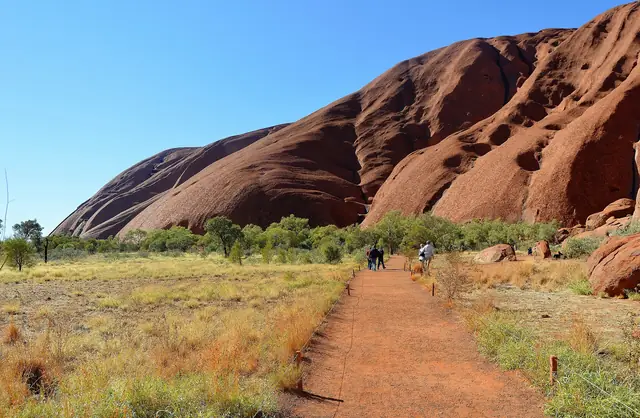 |
The Mala Walk path running beside the sheer red flank of Uluru | Photograph: Cemendtaur Derivative work MagentaGreen | CC BY-SA 4.0 | Source |
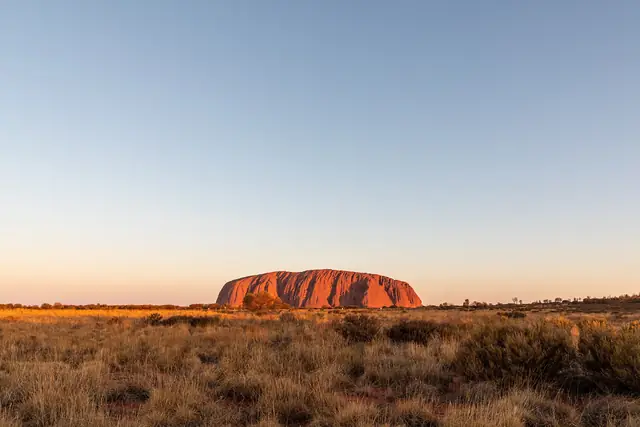 |
Uluru glowing red in low evening light across the desert oak plain | Dietmar Rabich | CC BY-SA 4.0 | Source |
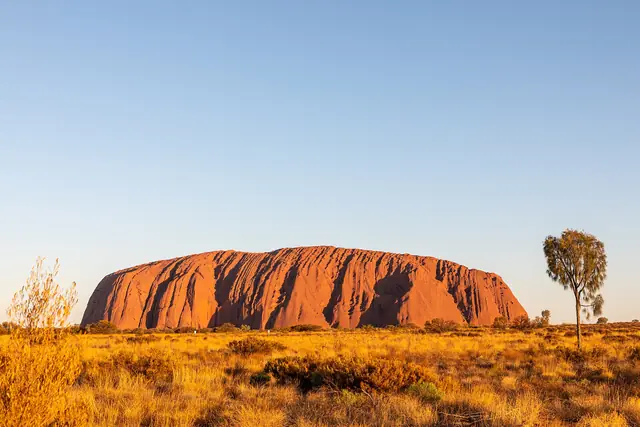 |
The full profile of Uluru rising above spinifex and desert oaks | Dietmar Rabich | CC BY-SA 4.0 | Source |
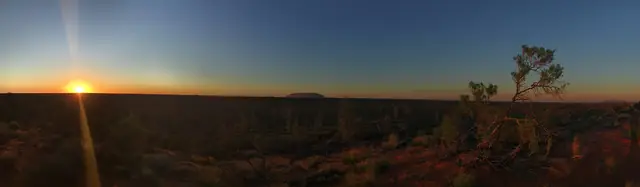 |
Panorama of Uluru at sunrise from the eastern viewing area | Stonechenrock | CC BY-SA 4.0 | Source |
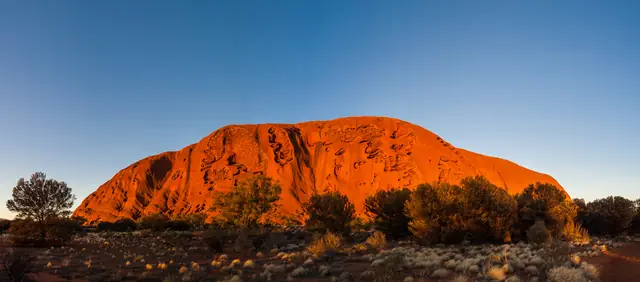 |
Uluru silhouetted under a pink and orange sunrise sky | Fabian Kurz | CC BY-SA 3.0 | Source |
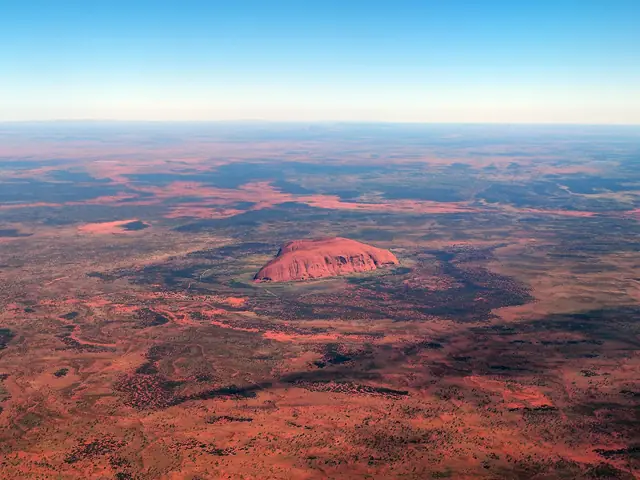 |
Aerial view of Uluru from a scenic flight over the surrounding red sand plain | rheins | CC BY 3.0 | Source |
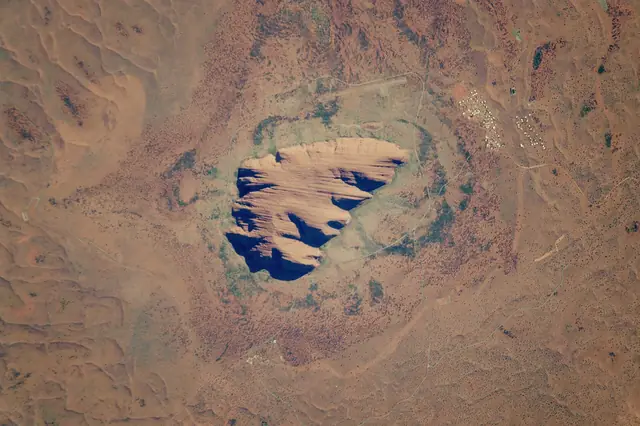 |
Uluru seen from the International Space Station in the centre of Australia's red desert | NASA/JSC Gateway to Astronaut Photography of Earth / Caption by Andi Hollier, Hx5 LLC, and M. Justin | Public domain | Source |
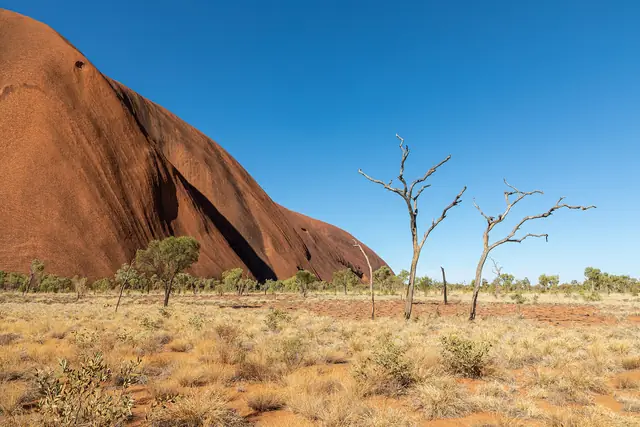 |
Shaded track along the base of Uluru on the Kuniya Walk section of the base walk | Dietmar Rabich | CC BY-SA 4.0 | Source |
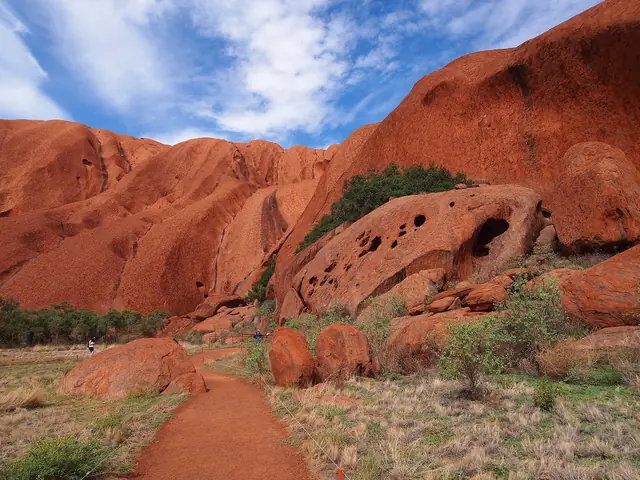 |
Visitors on the Mala Walk at the base of Uluru | rheins | CC BY 3.0 | Source |
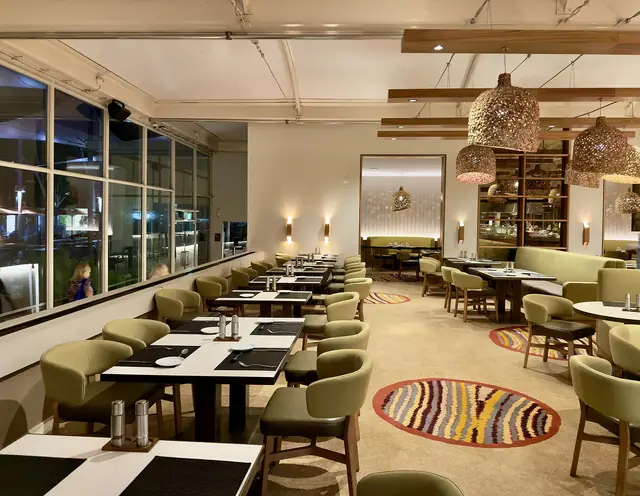 |
Sails in the Desert hotel at Ayers Rock Resort, Yulara | Chris Olszewski | CC BY-SA 4.0 | Source |
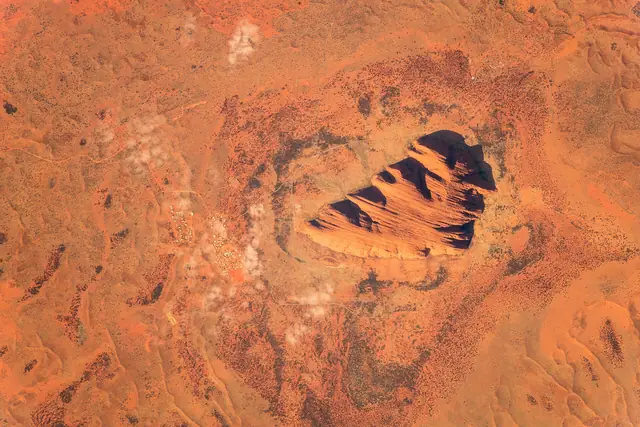 |
Satellite image of Uluru showing its shape and the surrounding dunes | Alexander Gerst | CC BY-SA 2.0 | Source |
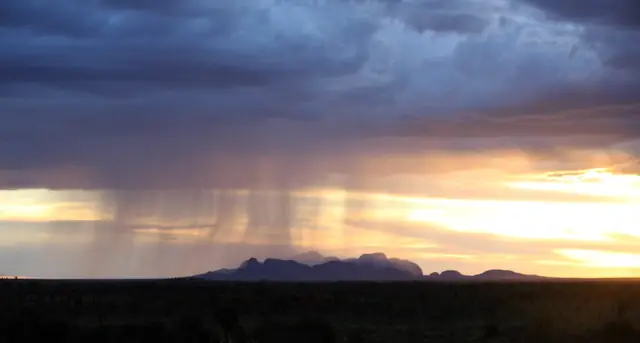 |
Dark storm clouds gathering over the domes of Kata Tjuta | RuthDurose | CC BY-SA 4.0 | Source |
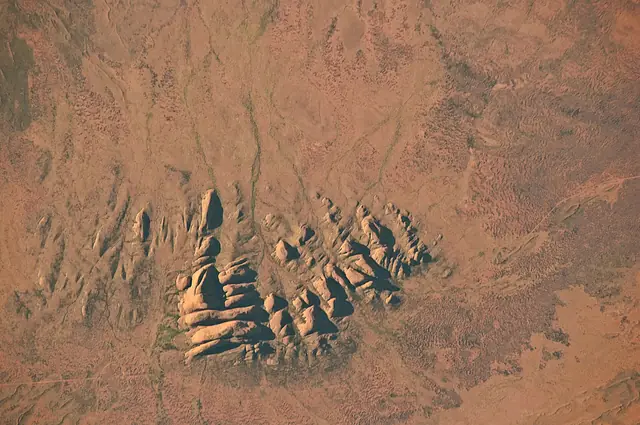 |
The domes of Kata Tjuta rising from the desert in Uluru-Kata Tjuta National Park | NASA Expedition 23 crew | Public domain | Source |
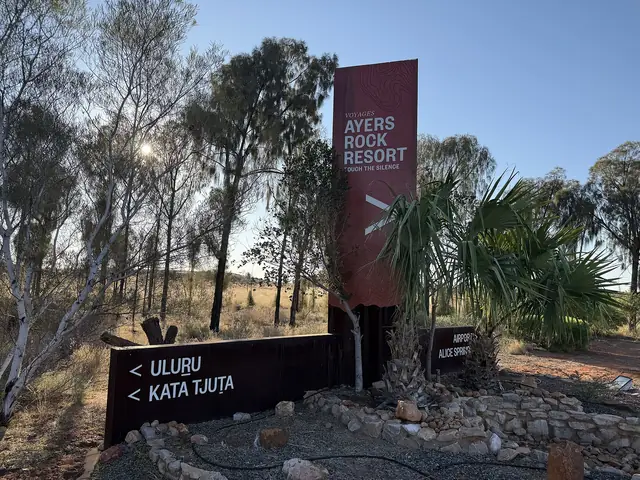 |
The main road entry to Ayers Rock Resort at Yulara, where hire cars are collected | DaHuzyBru | CC BY-SA 4.0 | Source |
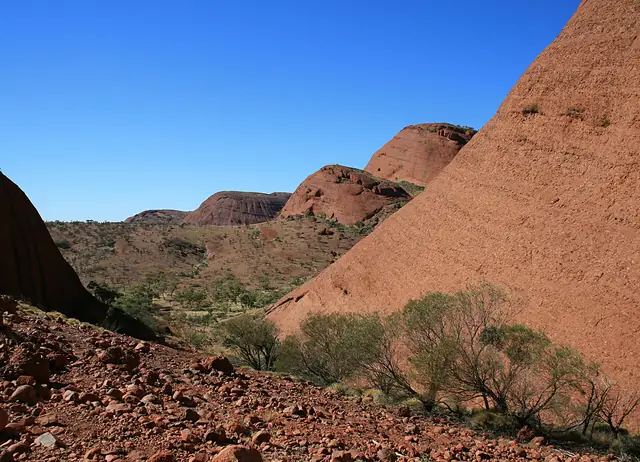 |
The domes of Kata Tjuta, where the Valley of the Winds walk begins | Toby Hudson | CC BY-SA 3.0 | Source |
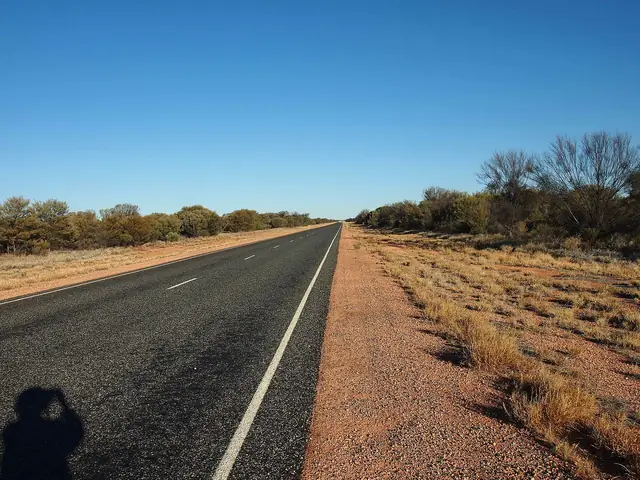 |
The Stuart Highway at Erldunda, the turn-off for the Lasseter Highway to Uluru | Mark Marathon | CC BY-SA 4.0 | Source |
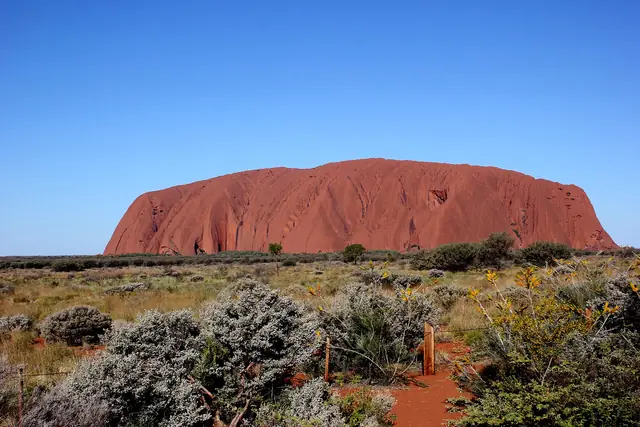 |
Uluru under a clear desert sky | Annette Teng | CC BY 3.0 | Source |
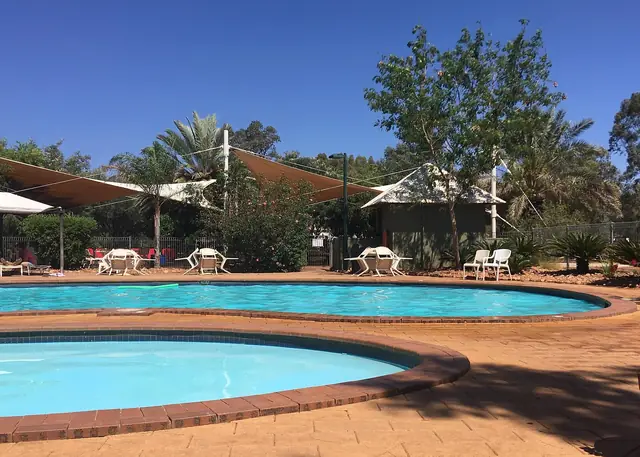 |
The swimming pool at Ayers Rock Campground, Yulara | Christophe95 | CC BY-SA 4.0 | Source |
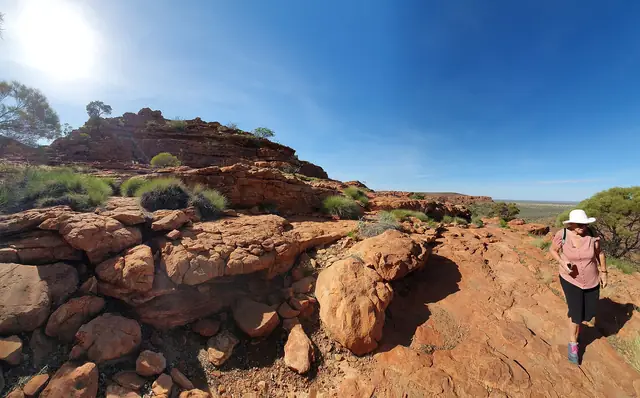 |
Sandstone domes and cliffs on the Kings Canyon Rim Walk | Teckez | CC BY-SA 4.0 | Source |
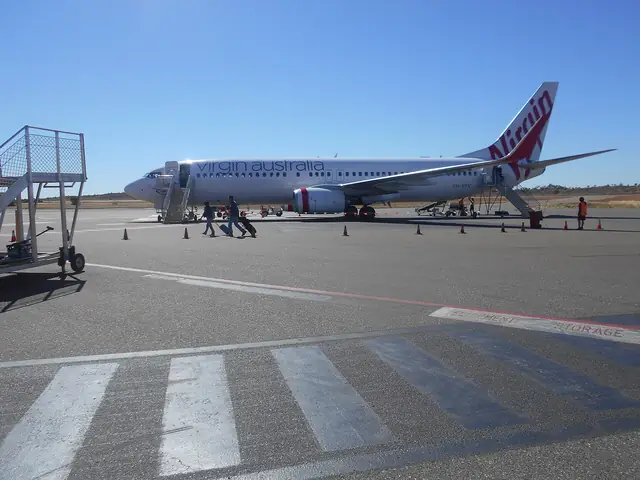 |
Ayers Rock (Connellan) Airport at Yulara | Fry72 | CC BY-SA 4.0 | Source |
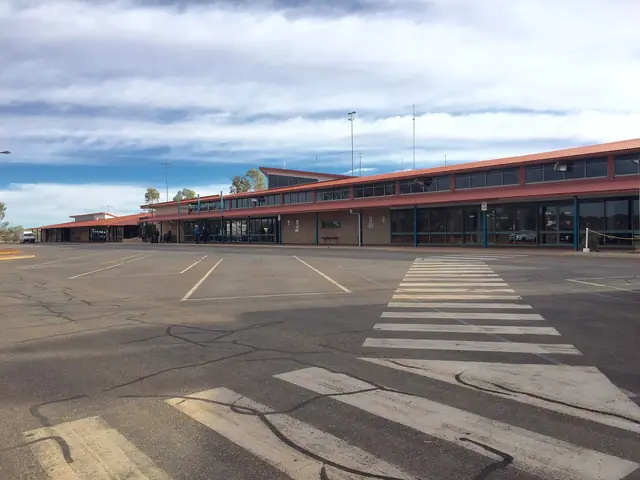 |
The terminal building at Ayers Rock Airport | Chris Olszewski | CC BY-SA 4.0 | Source |
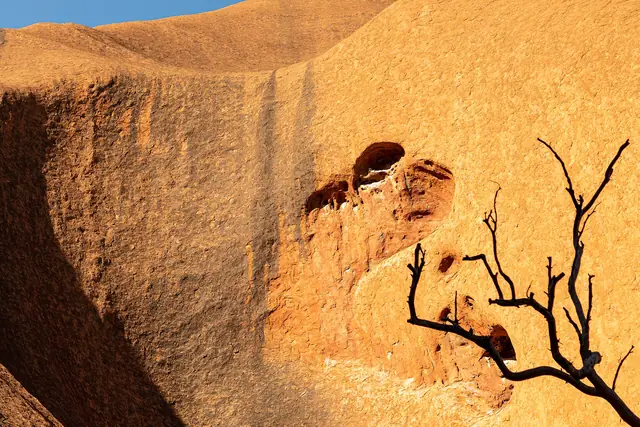 |
The flat walking track around the base of Uluru | Dietmar Rabich | CC BY-SA 4.0 | Source |
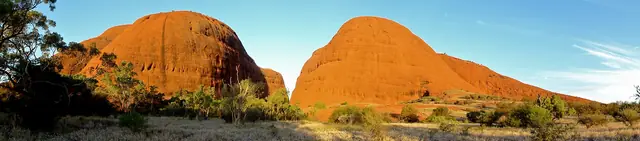 |
Walpa Gorge between the domes of Kata Tjuta | Annette Teng | CC BY 3.0 | Source |
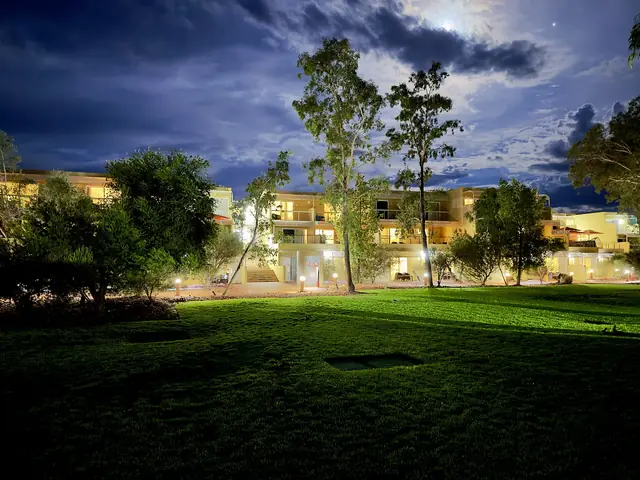 |
Sails in the Desert hotel and its white shade sails at Ayers Rock Resort | Chris Olszewski | CC BY-SA 4.0 | Source |


Licences: CC BY and CC BY-SA licences require attribution (above); CC BY-SA images remain under the same licence. CC0 and public-domain images are free of restrictions. If you are a photographer and believe an image is incorrectly credited, please contact us.